
Are you a true coffee lover who dreams of taking your love for the bean to the next level? If so, home coffee roasting might be the perfect hobby for you. Roasting your own coffee beans allows you to experiment with different roast profiles, create custom blends, and ultimately, enjoy the freshest cup of coffee possible. In this beginner’s guide, we’ll explore the basics of home coffee roasting, including the equipment you’ll need, the roasting process, and some tips to get you started on your home-roasting journey. So, grab a cup of your favorite brew and let’s dive in!
Why Roast Coffee at Home?
Home coffee roasting offers several benefits for coffee enthusiasts:
1. Freshness: Roasting your own beans means you’ll always have the freshest coffee possible. The flavor of coffee begins to degrade within a few weeks of roasting, so having control over the process ensures peak flavor and aroma in every cup.
2. Customization: Home roasting allows you to experiment with different roast levels and create a coffee experience tailored to your personal taste preferences.
3. Cost savings: Buying green coffee beans in bulk can be more cost-effective than purchasing pre-roasted beans.
4. Exploration: Home roasting provides the opportunity to explore various coffee origins and varieties, expanding your coffee knowledge and palate.
Equipment for Home Coffee Roasting
Before you begin roasting, you’ll need to invest in some basic equipment:
1. Green coffee beans: It goes without saying that you need to find green coffee beans, but where? A great place to source green coffee beans is from Sweet Marias (sweetmarias.com). They are very reputable and have a lot of helpful resources on their website.
2. Roasting device: There are several options for home coffee roasting devices, ranging from basic to more advanced. Popular choices include:
a. Stovetop popcorn popper: An affordable and accessible option for beginners. This method requires constant stirring to ensure even roasting. We recommend starting with a more affordable appliance as you start the roasting process.
b. Dedicated home coffee roaster: These appliances are specifically designed for coffee roasting, offering more control over the process. They can be more expensive but provide a more consistent roast.
3. Cooling tray: Once the beans have reached the desired roast level, they’ll need to be cooled quickly to stop the roasting process. A simple baking sheet or wire rack can work for this purpose.
4. Scale: A digital scale is useful for measuring the weight of your green beans and roasted coffee. It doesn’t have to be anything fancy, just something that can measure to the tenth decimal place.
5. Airtight container: To store your roasted beans and keep them fresh. It’s best to keep them in an opaque container and away from heat and moisture.
6. Optional: A thermometer and timer can be helpful for monitoring the roasting process. Some of pieces of equipment have built in monitors.

The Home Coffee Roasting Process
Now that you have your equipment, it’s time to start roasting! Follow these basic steps for a successful home roast:
1. Measure your green coffee beans: Weigh out the appropriate amount of beans for your chosen roasting method. This can vary depending the machine you buy but the point is start small.
2. Preheat your roaster: Depending on your chosen roasting device, preheat to the appropriate temperature (usually between 450°F and 500°F).
3. Add the beans: Once your roaster is preheated, add the green coffee beans and begin the roasting process. Be sure to stir or agitate the beans frequently to ensure even roasting.
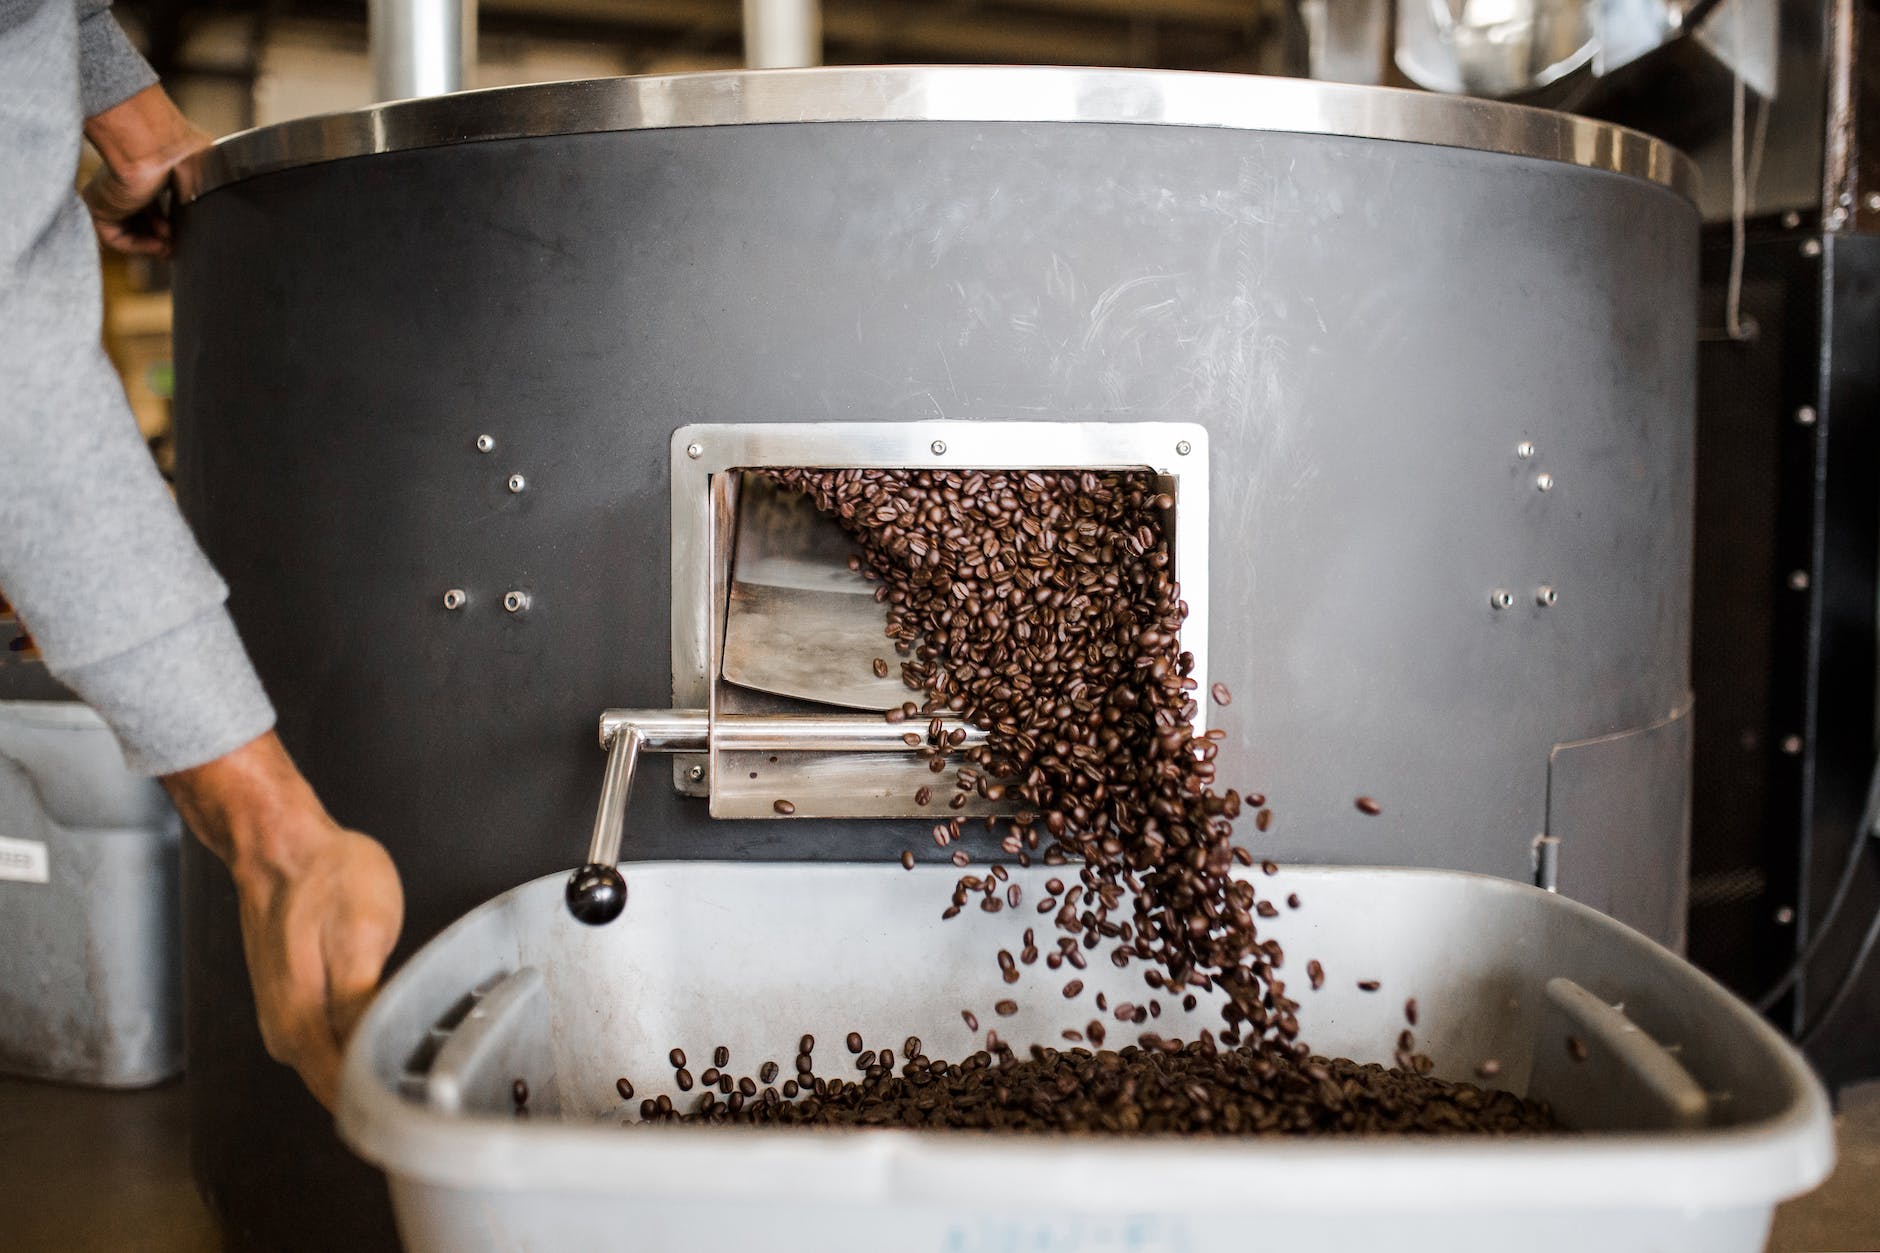
4. Monitor the roast: Pay close attention to the beans as they roast. They will change color from green to yellow, then to varying shades of brown. Listen for the “first crack,” a popping sound similar to popcorn, which indicates the beans have reached a light roast level. If you prefer a darker roast, continue roasting until you hear a second crack, which signifies a dark roast.
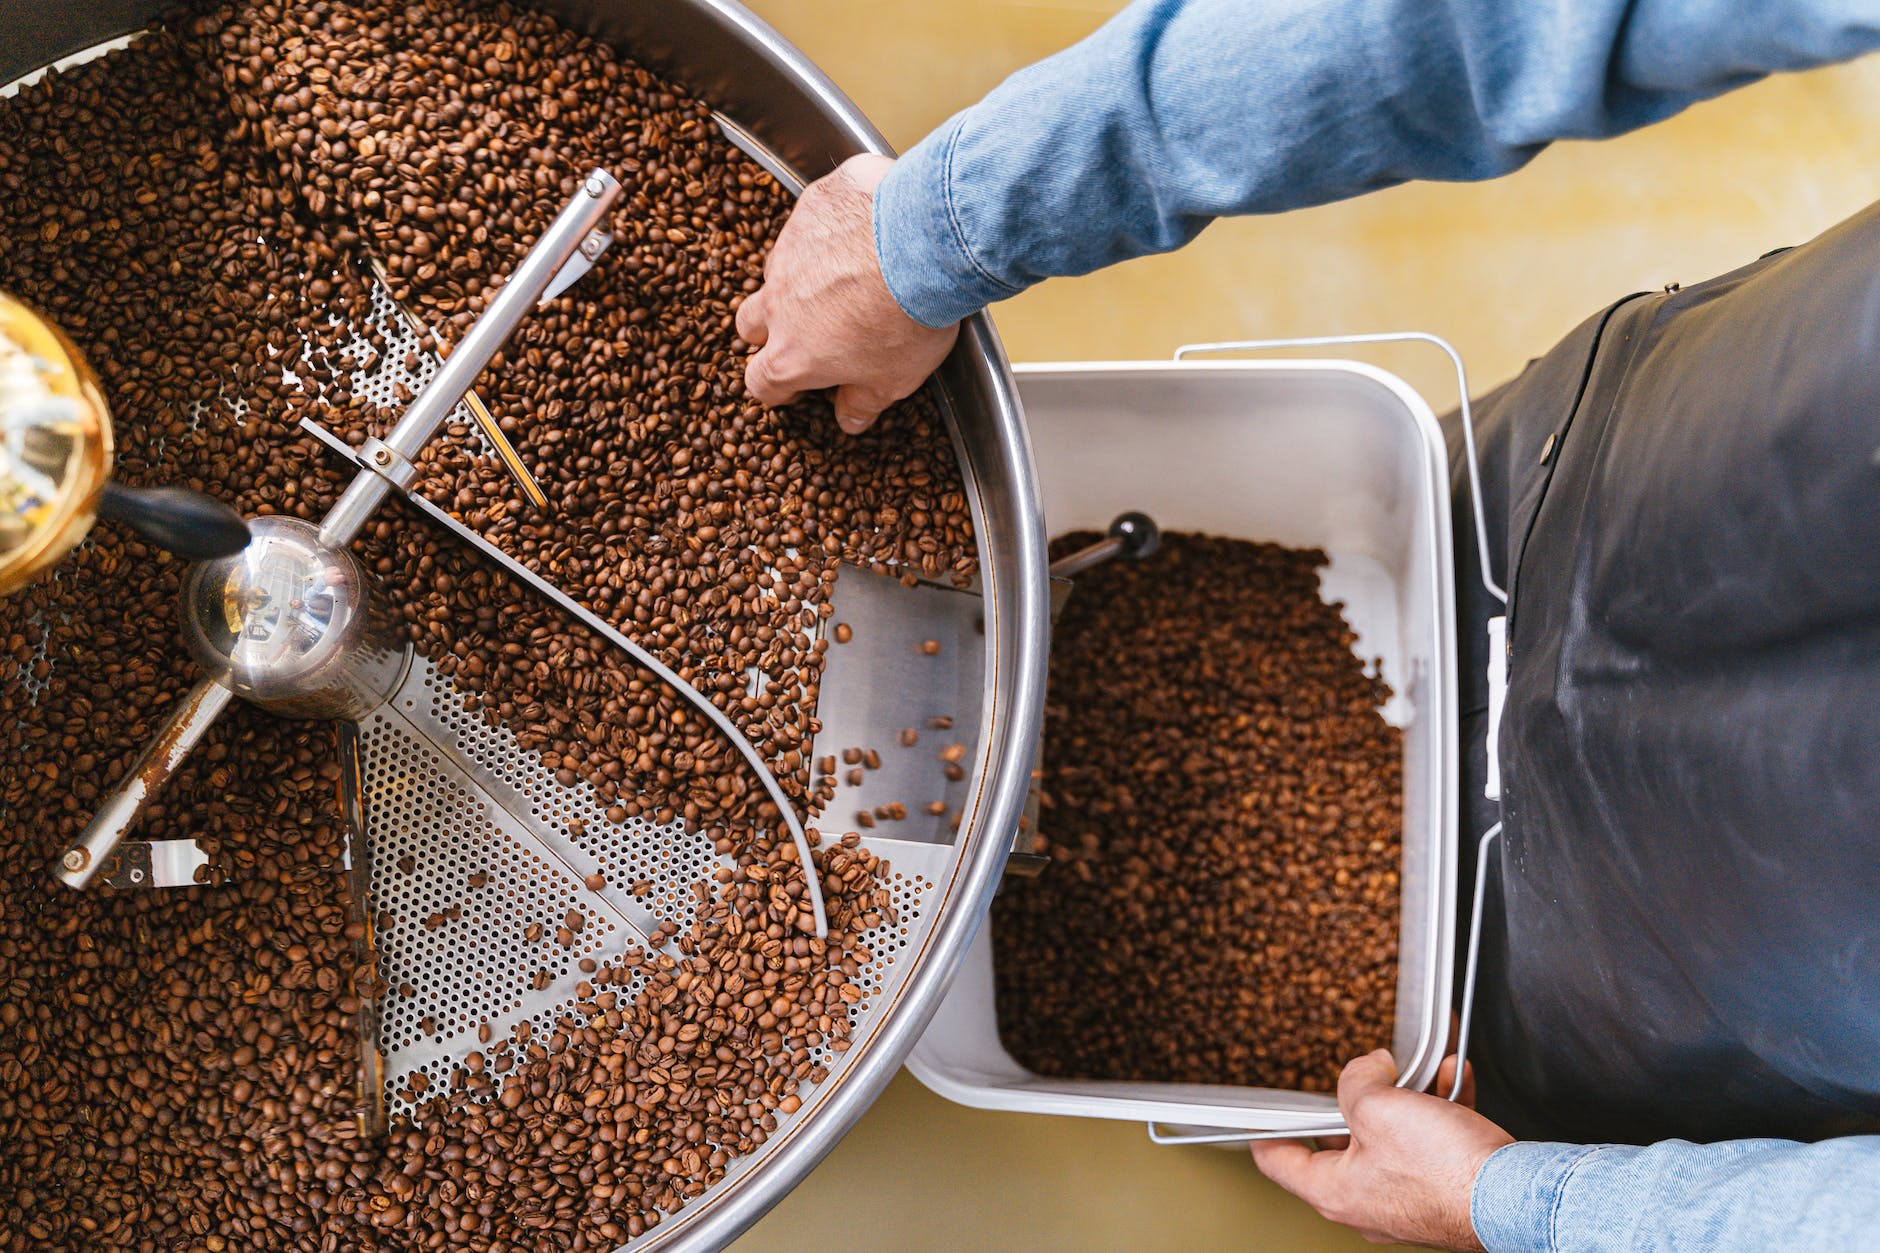
5. Cool the beans: Once your desired roast level is achieved, quickly transfer the beans to your cooling tray to stop the roasting process. Spread them out evenly to facilitate faster cooling. It’s important to know that the beans will still be roasting after you take them out of your roaster. So make you sure you immediately cool them once removed from the roaster!
6. Rest and degas: After cooling, transfer the roasted beans to an airtight container and allow them to rest for at least 12-24 hours. This resting period allows the beans to off-gas carbon dioxide, which can negatively impact the flavor of your coffee if brewed immediately after roasting.
7. Brew and enjoy: Once your beans have rested, grind and brew your coffee as usual. Enjoy the unparalleled freshness and flavor of your home-roasted coffee!
Tips for Successful Home Coffee Roasting
1. Start small: When first beginning your home-roasting journey, I can’t stress enough to start with make it easier to control the roast.
2. Experiment with roast profiles: Try roasting beans to different levels (light, medium, and dark) to discover which roast level best suits your taste preferences.
3. Keep a roasting log: Document the details of each roast, such as the type of beans, roast level, roasting time, and any adjustments made during the process. This will help you refine your technique and achieve consistent results.
4. Learn from others: Join online forums, attend local coffee events, or connect with other home roasters to share tips, tricks, and experiences. You’d be surprised what a quick google search can find.
5. Be patient: Like anything else, trying something for the first time can seem scary. It’s important to remember that you’ll only get better the more you do it. Home coffee roasting is as much an art as it is a science, and it may take some trial and error to achieve your desired results. Embrace the learning process and enjoy the journey!
Let’s Wrap it Up
Home coffee roasting is a rewarding hobby that can deepen your appreciation for coffee while providing the freshest, most flavorful cup possible. With a little practice and experimentation, you’ll be on your way to mastering the art of home coffee roasting. Don’t forget to share your roasting adventures with us on Instagram by tagging @broo_croo, and if you haven’t already, be sure to subscribe to our blog for more coffee-related content!
Happy roasting, and may your cups runneth over with amazing coffee!

Leave a comment